Settings is visible only to app administrators and site owners. It is organised into General, Preferences, and Lookups sections in the settings sidebar.
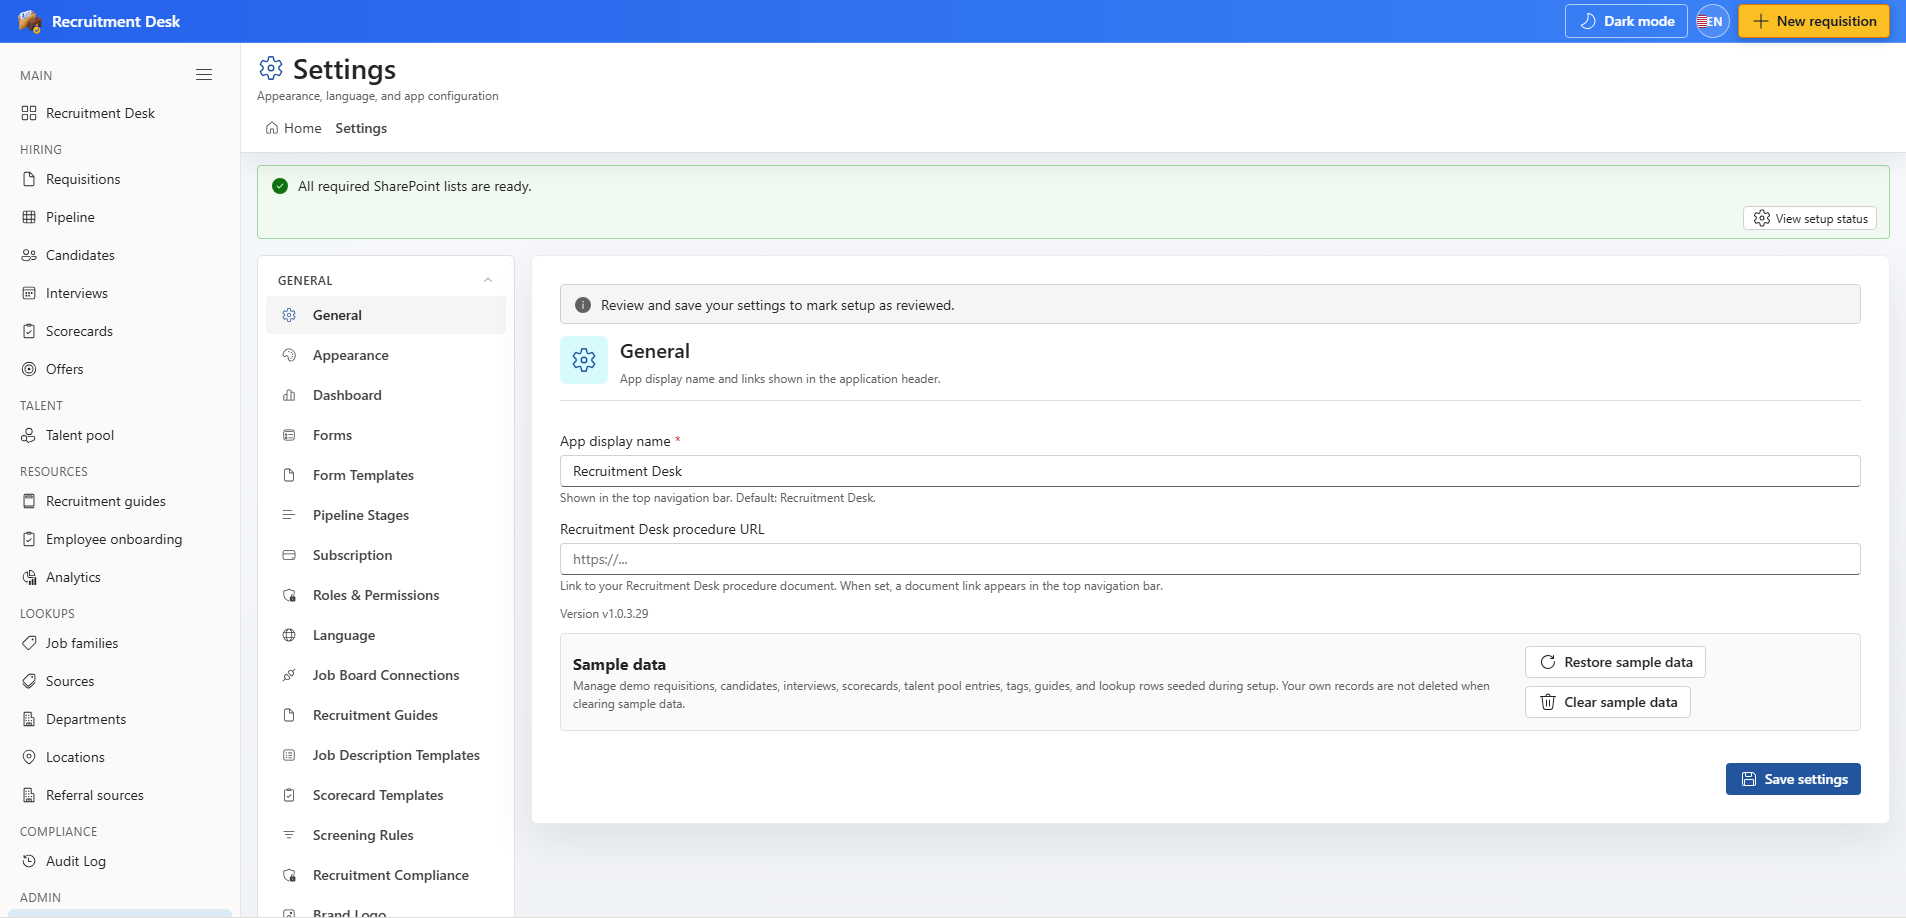
16.1 General
| Tab | What you configure |
|---|---|
| General | App display name, procedure document link, version label, and clearing or restoring sample data |
| Appearance | Theme, colours, density, font size, and which chrome to hide |
| Dashboard | Dashboard name, chart tooltips, and the SLA alerts panel |
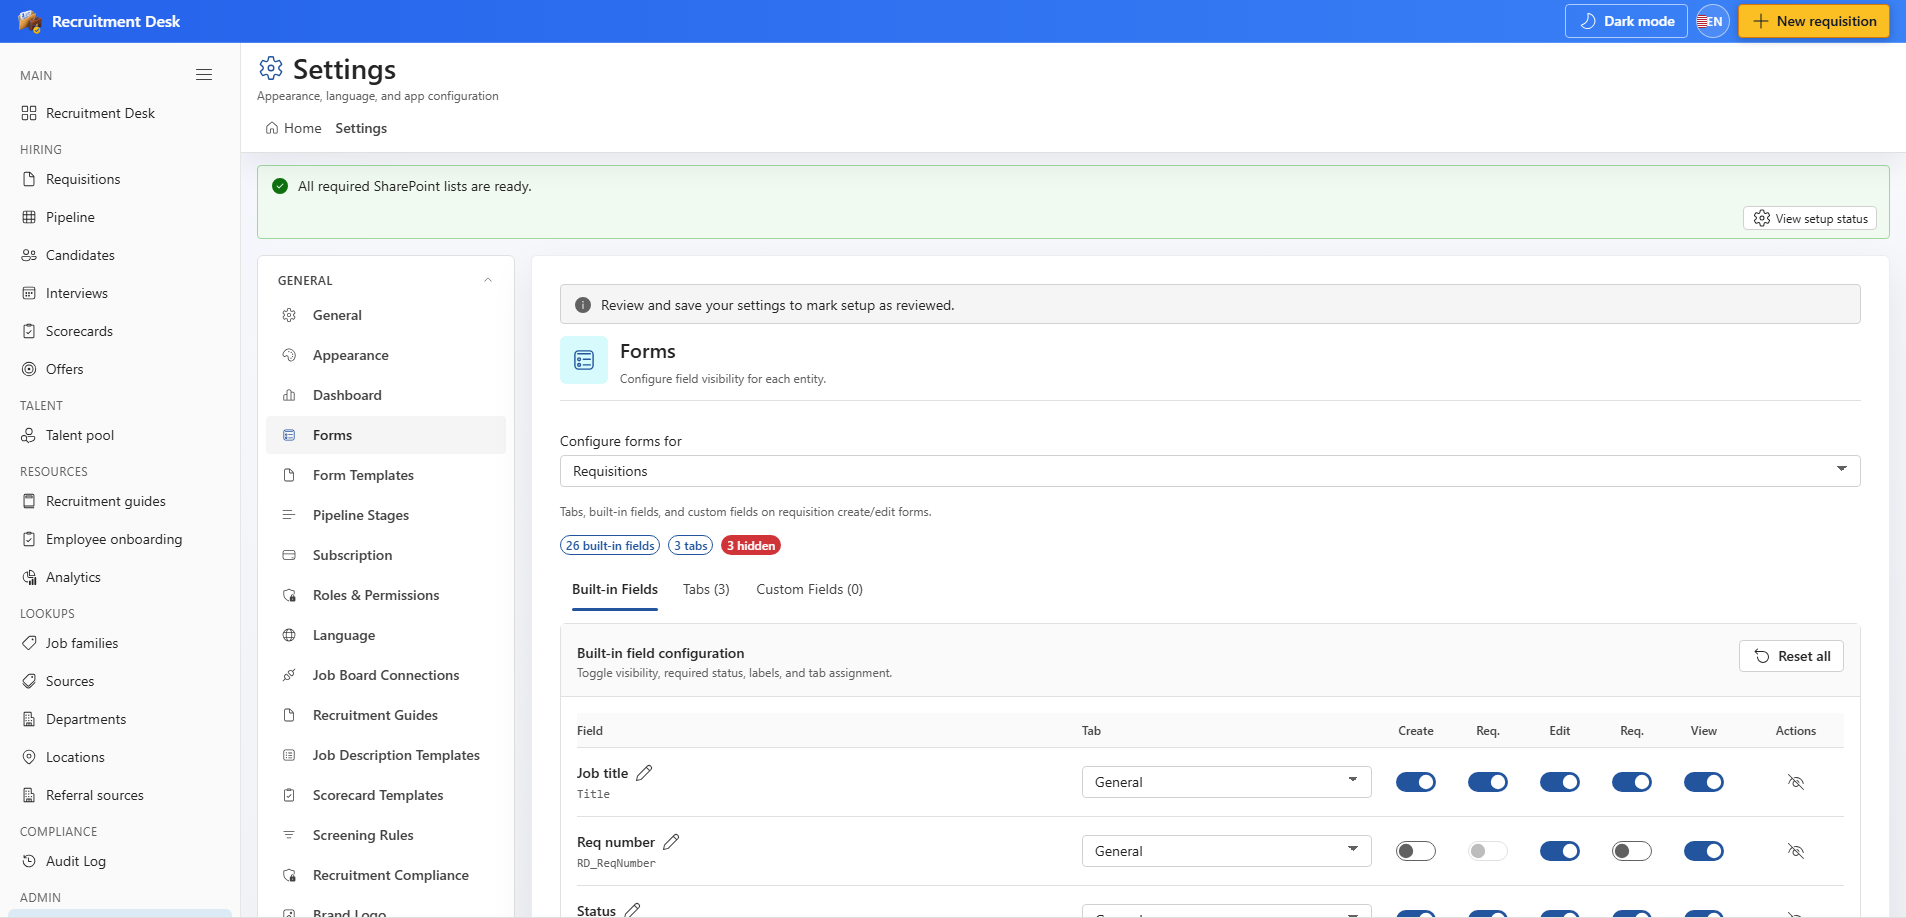
| Forms | Which fields appear on the requisition, job family, source, referral source, location, and department forms |
| Form Templates | Job-family specific requisition layouts |
| Pipeline Stages | Stage names, colours, order, and priority labels |
| Scorecard Templates | Interview rubrics with weighted criteria |
| Job Description Templates | Reusable job description text |
| Screening Rules | Rule-based application scoring using non-protected attributes |
| Recruitment Compliance | Approval routing, consent, and GDPR retention |
| Roles & Permissions | Administrators, roles, the permission matrix, and user assignments |
| Job Board Connections | Publish and import toggles for external job boards |
| Recruitment Guides | Author and publish internal hiring playbooks |
| Brand Logo | A custom logo for the app header |
| Language | Interface language: English, Spanish, French, or German |
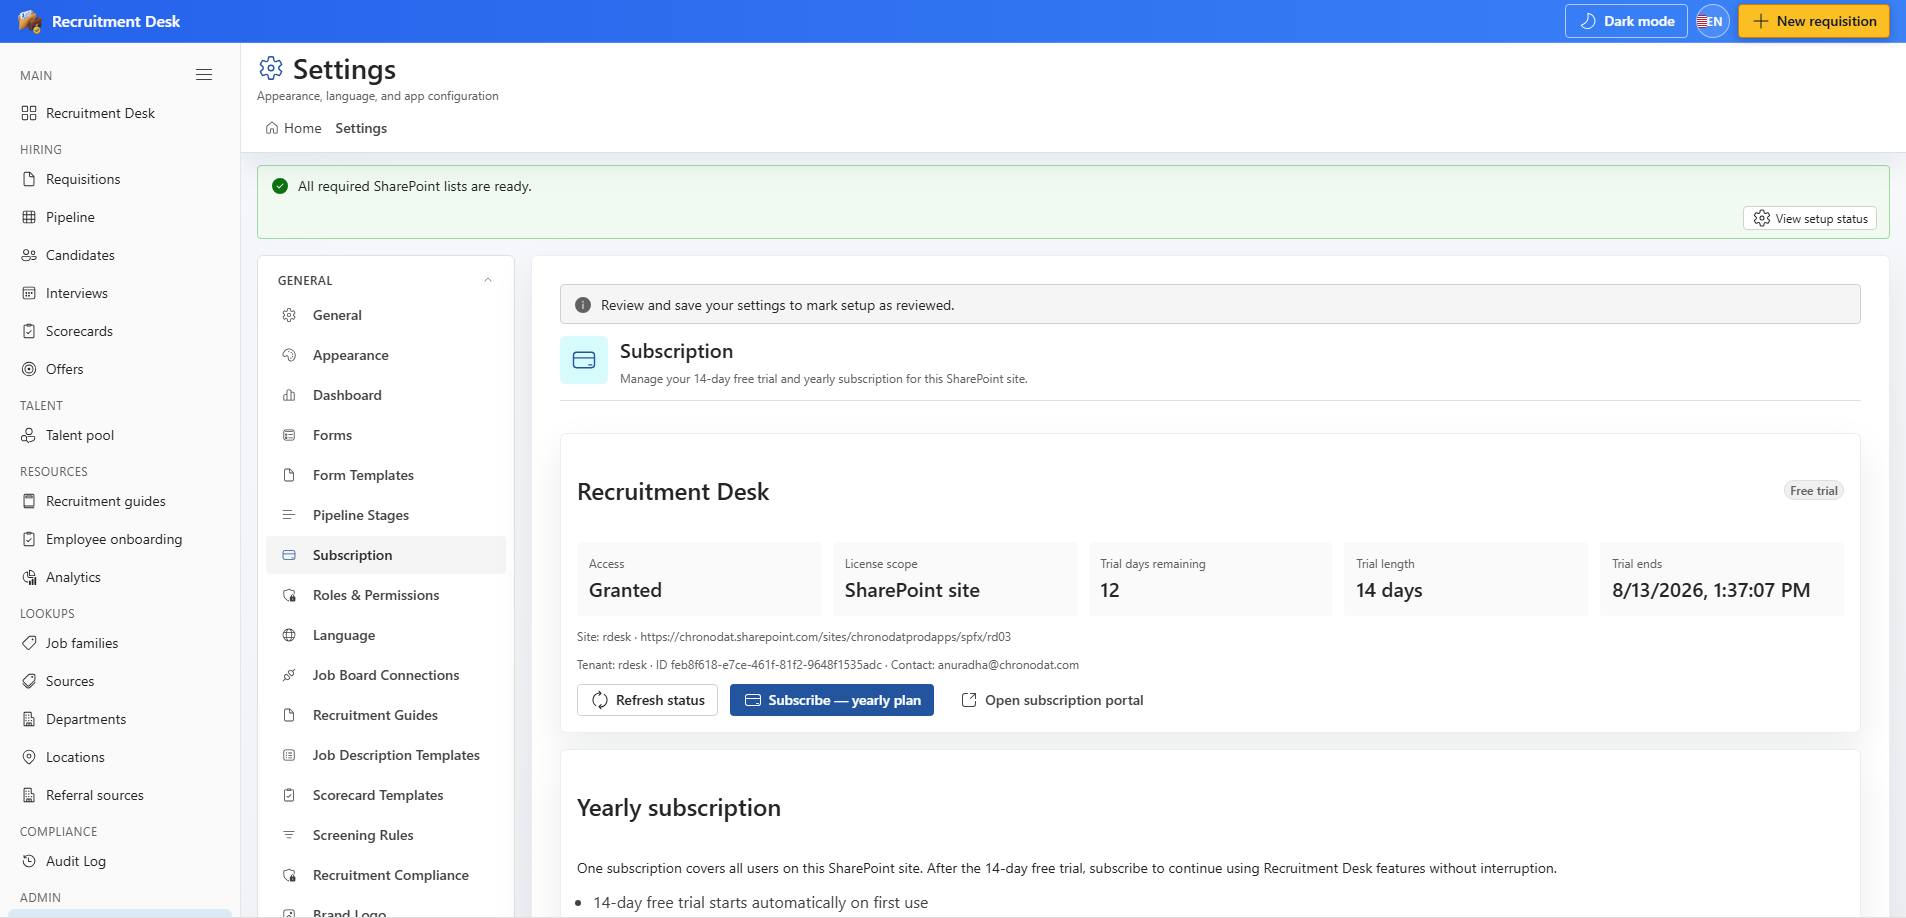
| Subscription | Trial status, checkout, and the billing portal |
16.2 Preferences
| Tab | What you configure |
|---|---|
| Dropdown Options | The choice values offered on requisition and candidate forms |
| Numbering | Automatic numbering for requisitions, candidates, and applications |
| Tags | The shared tag vocabulary for candidates and requisitions |
| Email Integration | How the app sends mail |
| Notification Workflows | Which events notify whom, and with which template |
| Workflow Rules | Trigger, condition, and action rules |
| Email Templates | Reusable message bodies with placeholders |
| Audit Log | The same audit viewer as the Compliance section |
16.3 Numbering
Automatic numbering gives every requisition, candidate, and application a readable reference. Configure the prefix, separator, date format, padding length, and how often the counter resets — for example REQ-2026-0007.
16.4 Forms
The Forms tab controls field visibility per entity, so you can hide fields your organisation does not use and keep the create form short. Form Templates goes further and lets you publish a different requisition layout per job family.
16.5 Email integration
| Mode | How it sends | Requires |
|---|---|---|
| Chronodat Mail API | Through the Chronodat hosted service — recommended | An active subscription |
| Microsoft Graph | From the signed-in user's own mailbox | Mail.Send approved by a tenant administrator |
| Power Automate | The app does not send; your own flows do | Flows built in your tenant |
Candidate-facing messages use named templates: an interview invitation, a regret notice, an offer message, and a self-scheduling link. Every message that is sent writes an audit event.
16.6 Tags and subscription
- Tags — maintain one vocabulary here so candidate filtering stays consistent across the team.
- Subscription — review trial or subscription status, start a checkout, or open the billing portal.
16.7 Sample data
If you provisioned the site with sample data, clear it from Settings → General before you go live so demo requisitions and candidates do not mix with real hiring. You can restore it again later if you need a safe space to train new recruiters.