1.1 Requirements
- Microsoft 365 SharePoint Online. On-premises SharePoint Server is not supported.
- Access to the tenant App Catalog to upload the solution package.
- Full Control (site owner) on the SharePoint site where you run first-time setup, because setup creates lists.
- A modern SharePoint page to host the web part, or a Microsoft Teams team if you plan to pin it as a tab.
1.2 Deploy the app
- Upload recruitment-desk.sppkg to the tenant App Catalog and choose to make it available to all sites, or deploy it to selected sites.
- On the target SharePoint site, open Site contents → New → App and add Recruitment Desk.
- Create or edit a modern page, add the Recruitment Desk web part, and publish the page. A full-width page section gives the best result.
1.3 Complete Setup
The first time the app loads on a site it shows a setup wizard instead of the normal navigation. Only the SETUP → Complete Setup entry is available until provisioning finishes.
The wizard runs through seven stages:
- Access verification — confirms you have permission to create lists.
- Reference data — creates the lookup lists for job families, sources, departments, locations, and referral sources.
- App configuration — creates the settings, administrator, and role lists.
- Requisition workspace — creates the requisition lists and fields.
- Hiring pipeline lists — creates candidates, applications, interviews, scorecards, offers, and talent pool.
- Starter content — seeds pipeline stages and, if selected, sample hiring data.
- Finalizing setup — records completion, assigns you the Organization Admin role, and adds you to the app administrators list.
Leave Include sample data selected if you want a populated workspace to explore. Sample content can be cleared later from Settings → General.
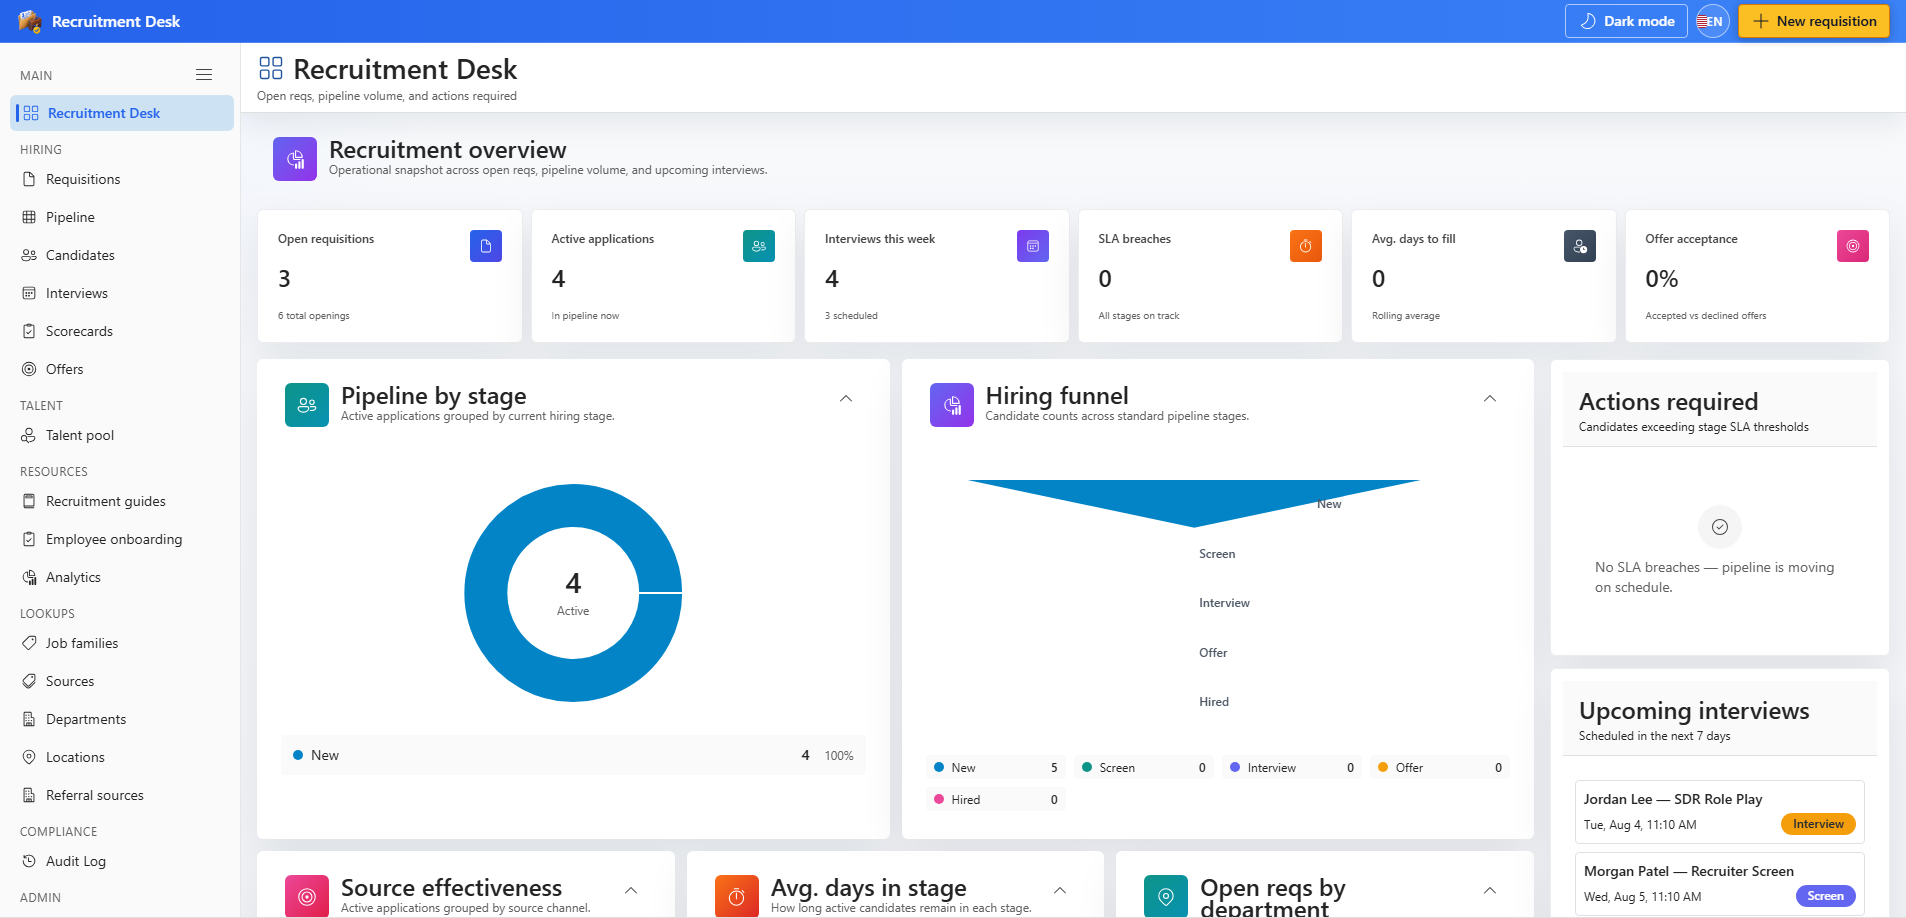
The left sidebar groups navigation into Main, Hiring, Talent, Resources, Lookups, Compliance, and Admin. Settings only appears for app administrators.
1.4 Add Recruitment Desk to Microsoft Teams
- In a Teams channel choose Add a tab, then pick the Recruitment Desk app.
- Point the tab at the SharePoint page hosting the web part.
- The Teams tab shows the same navigation, data, and permissions as the SharePoint page.
1.5 Verify the installation
| Check | Expected result |
|---|---|
| Setup banner | No longer shown after Complete Setup finishes |
| Sidebar | Shows Dashboard, Requisitions, Pipeline, Candidates, Interviews, Scorecards, Offers |
| Site contents | Contains the RD_ prefixed hiring and lookup lists |
| Settings | Visible to the account that ran setup |
| New requisition | Enabled in the header for recruiters and administrators |
Additional App Functionality
Subscription, Trial, and Licensing
Recruitment Desk includes a 14-day free trial on each site collection where it is installed. Site owners manage the subscription from Settings → Subscription.
Licensing is per site collection, not per user seat. Every recruiter, hiring manager, and interviewer on the site is covered by the same license.
If the trial expires without an active subscription the app shows a paywall instead of the hiring modules. Your SharePoint data is not deleted and becomes available again as soon as the subscription is activated.
- Trial length: 14 days from first activation on the site.
- Scope: one license per SharePoint site collection.
- Billing: managed from Settings → Subscription, which links to the checkout and billing portal.
- Offline tolerance: a short cached grace window keeps the app usable if the licensing service is briefly unreachable.
Email and Calendar Permissions
Recruitment Desk works without any Microsoft Graph permission, but two optional scopes unlock candidate email and calendar invitations.
- Mail.Send — sends interview invitations, regret notices, and offer emails from the signed-in recruiter's mailbox.
- Calendars.ReadWrite — creates the interview calendar event and Teams meeting link when you schedule a panel.
- A tenant administrator approves both requests in SharePoint Admin Center → Advanced → API access. The app shows a banner with a direct link while approval is pending.
- If you prefer not to grant Mail.Send, switch Settings → Email Integration to the Chronodat Mail API or to Power Automate.