5.1 Choose a requisition
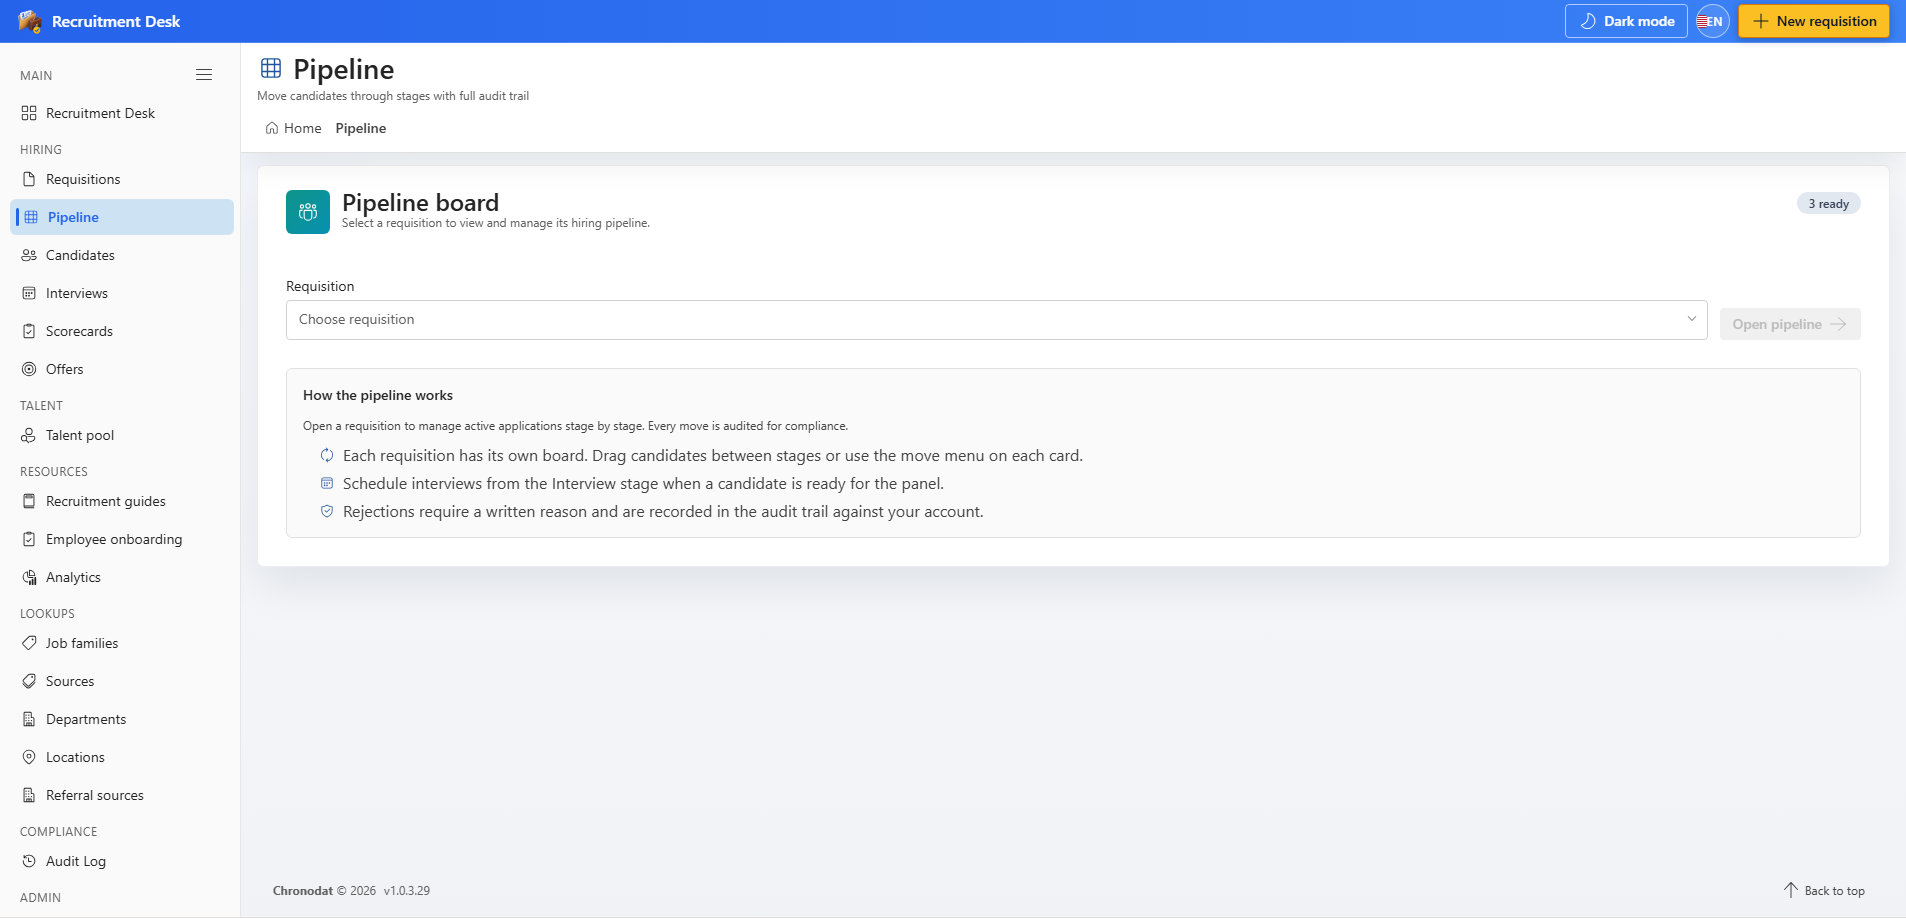
The pipeline page opens with a requisition picker listing roles that are Open or Approved. Pick a role and the board loads beneath it. Your last selection is remembered for the rest of the browser session.
5.2 Stage columns
| Stage | Purpose | Assignable |
|---|---|---|
| New | Applications that have arrived but not been reviewed | Yes |
| Screen | Initial recruiter screening | Yes |
| Interview | Interview panels in progress | Yes |
| Offer | An offer is being prepared or is out with the candidate | Yes |
| Hired | Reached automatically when a hire is recorded | No |
| Rejected | Reached through the reject action | No |
Hired and Rejected are outcome stages. You cannot drag a card into them directly — they are set by the hire and reject actions so that the required evidence is always captured. Administrators can rename stages, change their colours, and reorder them from Settings → Pipeline Stages.
5.3 Move a candidate
- Drag a candidate card to another column, or use the move menu on the card.
- Each column header shows the number of candidates and the stage SLA in days.
- Cards show the candidate name, role, and how long they have been in the current stage.
- Every move writes an audit event recording who moved the candidate and when.
Cards carry the candidate name, role, and days in stage so ageing applications are obvious at a glance.
5.4 Actions on a card
- Add candidate — create an application against this requisition.
- Open candidate — jump to the full candidate profile.
- Schedule interview — open the scheduling panel with the candidate and requisition prefilled.
- Reject candidate — open the disposition dialog.
5.5 Rejecting a candidate
Rejection is deliberately a considered action. The app never rejects a candidate automatically: the record must carry the identity of the person who made the decision, and a written reason is mandatory.
Choose a disposition code and add the reason:
| Disposition code | Use when |
|---|---|
| NotQualified | The candidate does not meet the role requirements |
| PositionFilled | The opening was filled by someone else |
| SalaryMismatch | Expectations fall outside the approved band |
| CultureFit | Assessed as a poor fit for the team or ways of working |
| Withdrew | The candidate withdrew from the process |
| Other | Anything else — explain it in the reason field |
On confirmation the application status becomes Rejected, the disposition code, reason, decision maker, and timestamp are stored, and an audit event is written. If you have permission to send candidate communications you can also send a regret email at the same time.
5.6 Watching the SLA
Any candidate sitting in the same stage for more than seven days counts as an SLA breach and appears in the dashboard Actions required panel. Use the days-in-stage figure on each card to spot problems before they show up in the weekly numbers.