Open Admin → Settings. Configuration is grouped into General, Preferences, and Lookups. Most pages use a single Save settings button at the bottom; lookup list pages (categories, scales, and so on) save each item independently.
| Setting area | What you configure |
|---|---|
| General | Application name, procedure document URL |
| Appearance | Theme mode, color scheme, layout, hide SharePoint chrome |
| Dashboard | Dashboard name, dynamic naming, heat-map drill-down, financial exposure card |
| Dropdown Options | Choice values for risk form dropdowns (status is managed under Risk Status & Priority) |
| Forms | Field visibility, labels, and required flags per entity (Risk, Business, Project) |
| Form Templates | Category-linked extra fields on the create / edit risk forms |
| Risk Status & Priority | Custom statuses (with workflow buckets) and custom priority labels |
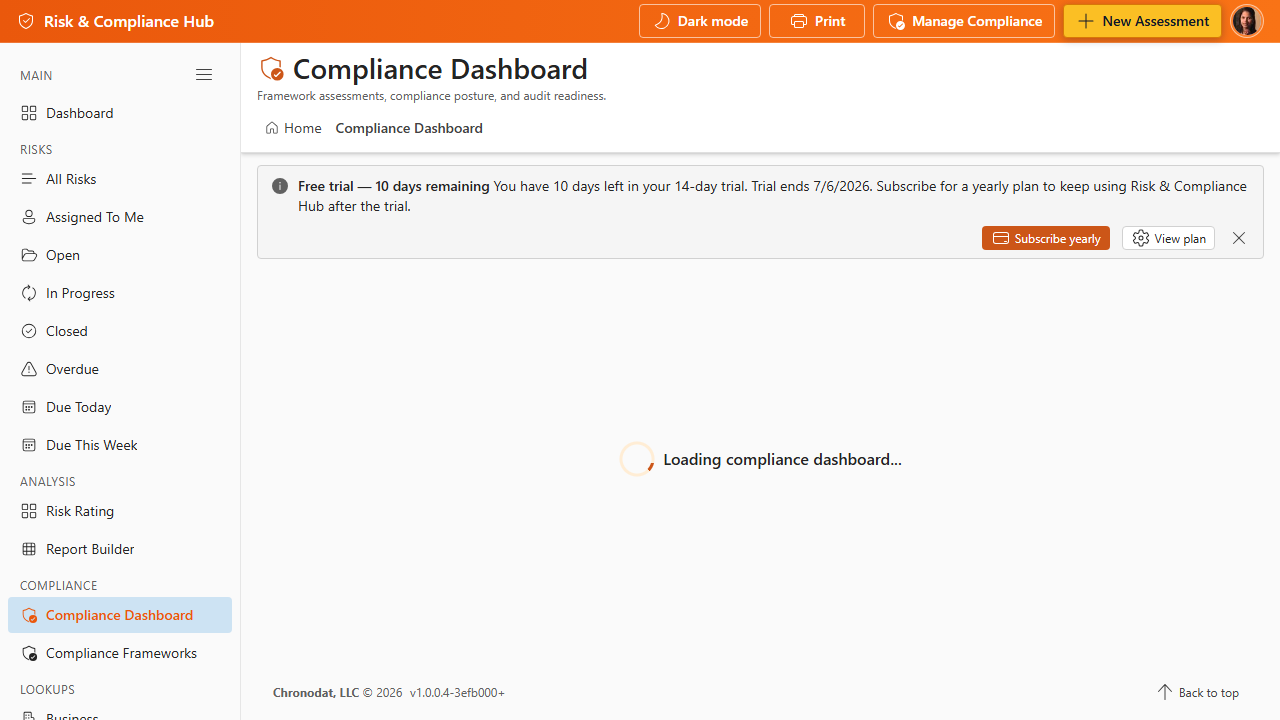
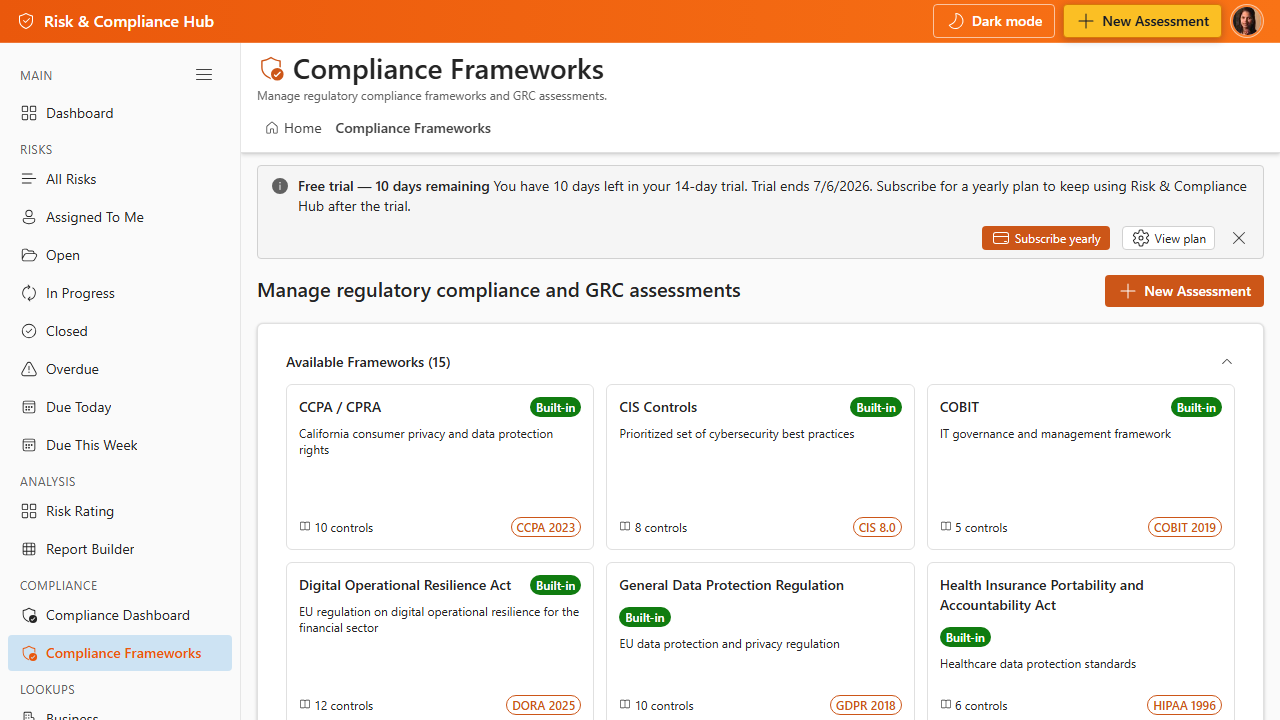
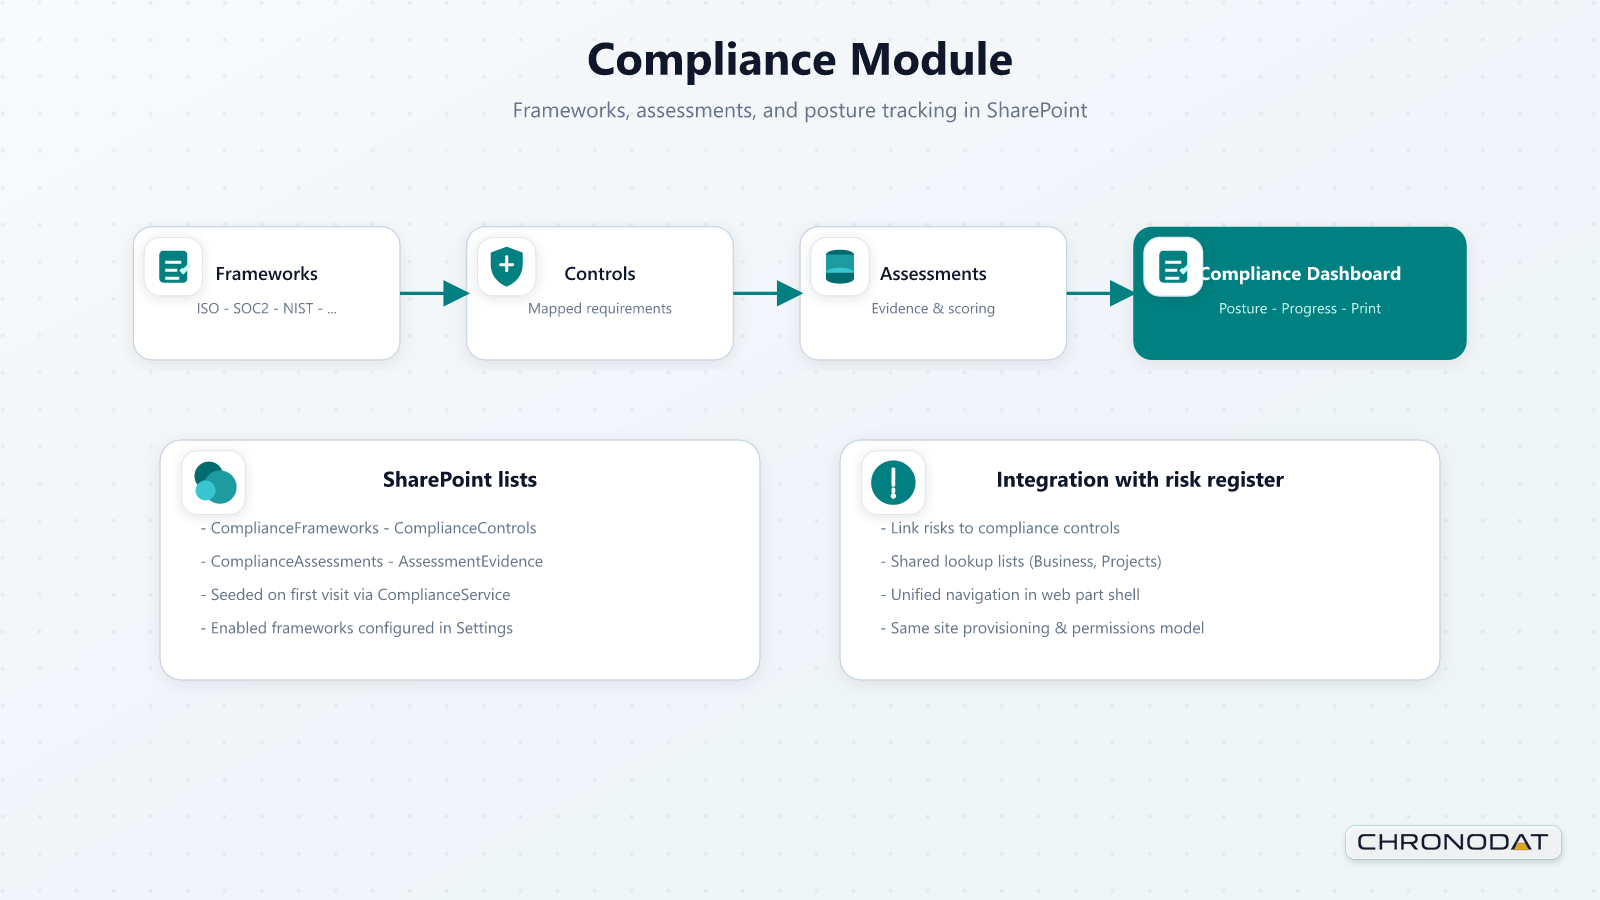
| Compliance | Enable or disable frameworks; create custom frameworks |
| Subscription | 14-day trial and yearly subscription, when enabled for your deployment |
| App Administrators | Users who can open Settings; at least one is required; removal requires confirmation |
| Numbering | Automatic Risk ID and project code formats |
| Tags | Colored tags for risk categorization (click Save settings to persist) |
| Notification Workflows | Email events: created, assigned, overdue, closed, and more |
| Workflow Rules | Trigger / condition / action rules (executed via Power Automate when configured) |
| Email Templates | Reusable HTML templates with merge variables |
| Scheduled Reports | Report schedules (delivery requires an automation integration) |
| Lookup lists | Categories, sub-categories, likelihood, consequence, profile types, response, strategy |
| Audit Log | Searchable log of create / update / delete actions across the application |
8.1 Custom Statuses and Sidebar Views
- Open Settings → Risk Status & Priority.
- On the Custom Statuses tab, click Add Status. Enter a name, a color, and a Counts as bucket (Open, In Progress, Mitigation, Resolved, or Closed).
- Switch to the Custom Priorities tab to add organizational priority labels (separate from matrix priority on the risk form).
- Click Save settings. Status names sync to the SharePoint Riskstatus field.
Sidebar views (Open, In Progress, Closed, Overdue, and so on) group risks by status bucket and due dates. Matrix priority (Critical, Major, Moderate, Low) is calculated from Likelihood × Impact using the Likelihood and Consequence scales — never from custom priority labels.
8.2 Form Templates (Administrator)
- Open Settings → Form Templates and click New form template.
- Enter a name and link the template to a Risk Category.
- Add fields (text, dropdown, date, people picker, currency, and more) and optional template tabs for long forms.
- Save the template and ensure it is marked Active.
When a user selects the linked category on a risk form, the template fields appear below the main tabs.
8.3 Lookup Lists (Administrator)
The Lookups section of Settings manages master data: Risk Categories, Sub-Categories, Likelihood Scale, Consequence Scale, Risk Profile Types, Response Strategies, and Risk Strategies. Each list supports Add new, Edit, and Delete. Deleting shows a confirmation dialog; if other records reference the lookup value, the dialog lists the affected lists and offers Delete anyway.
8.4 Email Notifications (Mail.Send)
- Deploy risk-management.sppkg, then approve Microsoft Graph Mail.Send (see Section 1.2.1).
- Configure events under Settings → Notification Workflows.
- Customize message bodies under Settings → Email Templates using merge variables such as {RiskID}, {Title}, {Status}, {AssignedTo}, and {RiskUrl}.
| Mailbox requirement Users who save risks must have an Exchange Online mailbox; mail is sent from the signed-in user’s mailbox. |
|---|
8.5 Appearance and Layout
- Open Settings → Appearance.
- Choose the Theme mode: Light, Dark, or Follow system.
- Adjust the accent color and optional custom header background, if your branding policy allows.
- Enable Hide SharePoint chrome for a full-app experience on SharePoint pages (not available in Teams).
- Enable Show user profile pill so users still see their signed-in identity when chrome is hidden.
- Click Save settings and refresh the page to apply layout changes.
8.6 Numbering and Risk IDs
Settings → Numbering controls auto-generated Risk IDs and project codes. A typical format uses a prefix (for example, Risk-) plus a zero-padded sequence. New risks receive the next ID on save. Changing the numbering format does not retroactively rename existing items.
8.7 Audit Log
Settings → Audit Log records create, update, and delete actions performed through the web part and the form customizer. Search by user, entity type, or date range. Use it alongside SharePoint version history on individual risk items for full traceability.
Additional App Functionality
Delegated App Administrators
Settings are available to SharePoint site owners and delegated Risk & Compliance Hub app administrators. Delegated administrators can manage app configuration without granting broad SharePoint ownership rights.
- Open Settings → App Administrators to add or remove delegated administrators.
- Use delegated access for risk managers, compliance leads, or system owners who need app configuration rights.
- Review administrators periodically, especially after role changes or project handover.
Email Integration Modes
Settings → Email Integration controls how workflow notifications are sent. Only the selected delivery mode is used, so choose one approach and test it before enabling production notifications.
- Chronodat Mail API is the simplest option when the subscription service is configured; no Exchange mailbox, tenant admin consent, or Power Automate flow is required.
- Microsoft Graph sends email from a signed-in user's Exchange mailbox and requires one-time tenant admin approval for Microsoft Graph Mail.Send.
- Power Automate uses customer-managed flows and is useful when mail must come from a shared mailbox or when the tenant wants full ownership of notification automation.
Notification Workflows, Templates, and Rules
Notification settings separate the event that triggers a message from the template used to render it. Configure workflows for risk create, assignment, status change, overdue, and other events, then keep templates readable for recipients.
- Use placeholders in email templates for risk title, owner, status, due date, links, and other context.
- Avoid duplicate messages by disabling Graph delivery when Power Automate sends the same event emails.
- Workflow rules and scheduled reports can be used with Power Automate companion flows when scheduler-dependent features are required.
Audit Log
The Audit Log records important create, update, delete, and settings events across risks, lookup lists, compliance assessments, frameworks, form templates, and app settings. It helps administrators answer who changed what and when.
- Filter audit entries by action or entity type to narrow investigations.
- Open the details view to inspect changed values where the app records before and after context.
- Use audit log data as operational traceability; continue using Microsoft 365 compliance tools for tenant-wide audit and retention obligations.
Additional Settings Areas
Several settings tabs control supporting behavior that may not be changed often but should be reviewed during implementation.
- Numbering controls risk IDs and project numbering patterns.
- Dropdown Options manage values such as risk types and control effectiveness.
- Tags can be maintained for future classification and filtering scenarios.
- Appearance settings control theme and branding details, including logo handling.
- Setup Status, sample data controls, and Mail.Send approval checks help administrators validate the environment after deployment.